We are in the process of building out a 2018 Mercedes Sprinter Cargo Van into a tiny home on wheels, but before we install the insulation in the walls, we decided to take the precaution of waterproofing the trim panel retainer clips.
One of the things we read about as we research our van build is the possibility of water leaks through the clips that hold the black trim panels on the side of our van. This can lead to all kinds of problems – moisture in the van; soggy, wet insulation; even rust.
 There’s no guarantee either way as to whether a given van will have this problem or not, but we decided to err on the side of “let’s be sure it doesn’t happen to us”. So we took an afternoon to pop the panels off, remove the clips, and caulk them to be sure they won’t leak.
It was a simple process and it went pretty quickly – about 2 hours start to finish. Here’s what we did:
This post contains affiliate links. We may earn compensation when you click on the links at no additional cost to you.
First, using a set of Body Trim Panel Tools similar to this one, we pulled the trim panels off the van.
Then, we removed all the retainer clips from the van – some of the retainer clips stayed in the van and some of them stuck to the trim panels. It was really hit or miss as to which one they would stick to. But no matter, we simply pulled the remaining ones out of the van and out of the trim panels.
 Figuring we would probably break a lot of clips in the process, we played devil’s advocate ahead of time, and picked up a surplus of extra clips just in case. As it turned out, we really didn’t need these (your results may vary so it’s up to you as to whether you want to pick these up or not).
Next we cleaned all the dirt off the side of the van where the clips attach to prepare the surface for caulking.
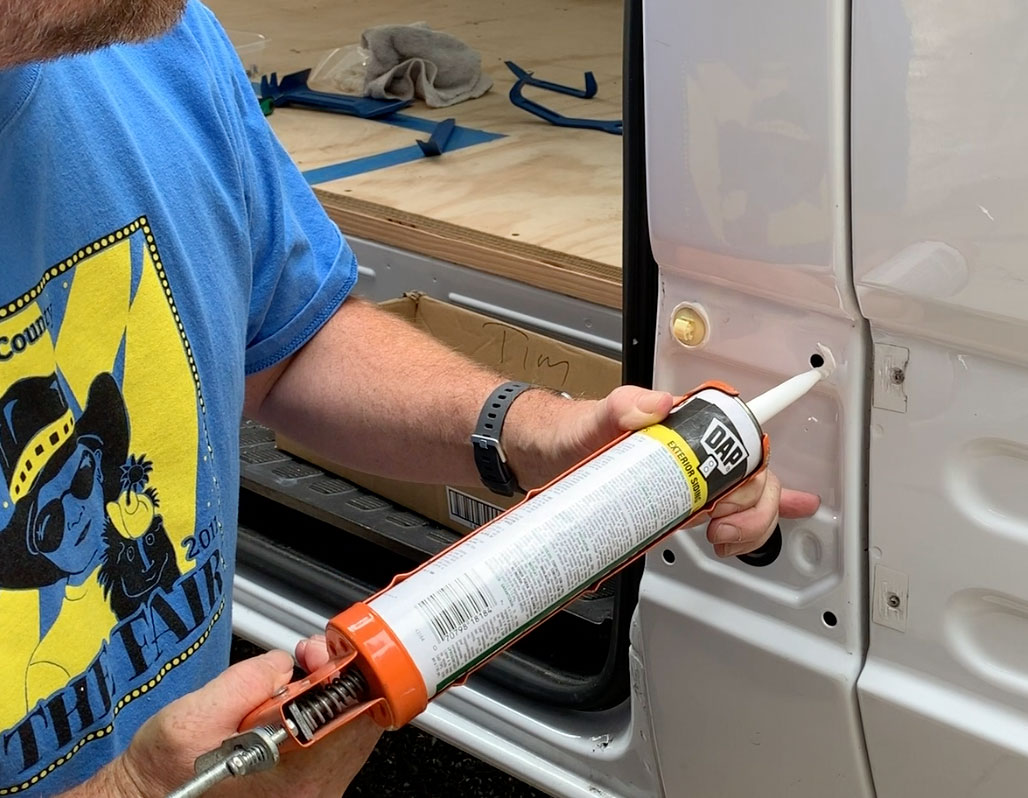
We put a bead of DAP Gutter and Flashing Sealant to seal the area around the retainer clip mounting holes, and then plugged the clips back in, giving them a spin to ensure the caulk was evenly covering them.
 Once all the clips were caulked and replaced, it was a pretty simple procedure to pop the trim panels back into place.
Well, except for the bottom clip on either side of the rear wheel well. These ones are behind the trim that goes around the wheel well so for these, we put them into the trim panel instead of back into the van (see the video if this isn’t clear) and that made it much easier to get these back together.
All told we spent about 2 hours start to finish on this project. And now that it’s done we can breathe easier knowing we shouldn’t have the leak problem from these panels.