Who doesn’t like a top 10 list?
We’ve been living in our van for 3 months now and we’ve had some questions about what we like vs. what we’d do differently. To answer the first question, here’s our list of 10 things we think we got right. Some of these are somewhat unique – that is we haven’t seen them out there too much on other van builds. So you might want to consider them if you’re designing a van for yourself.
And stay tuned because next week it’s the 10 mistakes we made or rather, 10 things we would probably do differently given another chance.
(Note, if you’re the type that would rather watch a video than read a blog post, you can see this same list on our recent YouTube upload, which is linked at the bottom here, so just scroll down to that if you prefer…)
So in no particular order here we go:
1. D.I.Y. Composting Toilet
This is hands down one of the best things we decided to do for our van. Considering you can buy a commercially available composting toilet for about a $1,000, this was not a difficult decision, especially when the most expensive component in this D.I.Y. version was the urine diverter at only $125.
It was also not difficult to build. Basically it’s a plywood box with baffles in the bottom to hold plastic jugs and a bucket in position, a hinged area over that for the seat and urine diverter, and a lid over the top of the whole thing to conceal it, and make it double as a seat.
You can see a more in-depth review of it on our YouTube channel at this link and also right here on our blog on this link here.
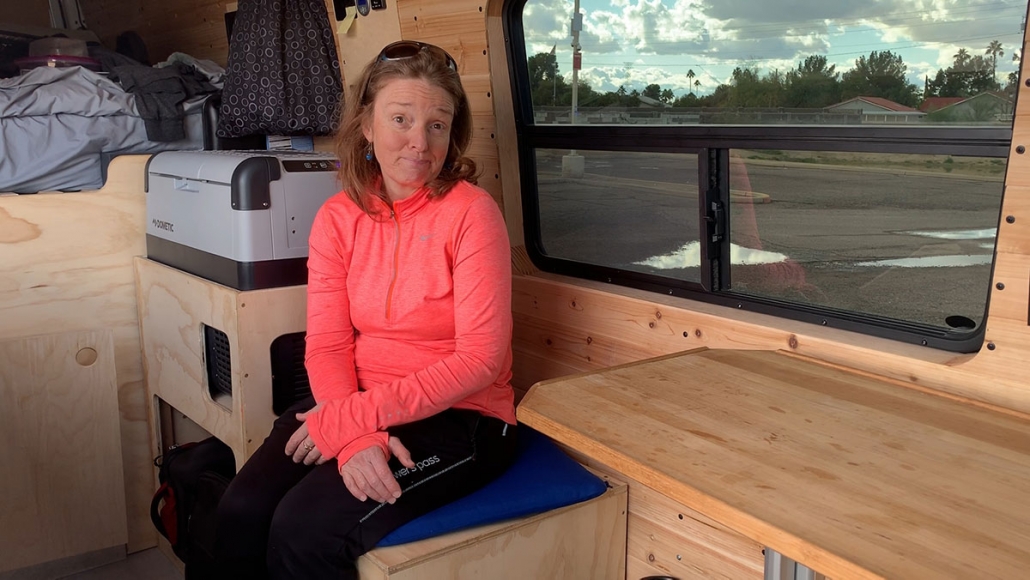
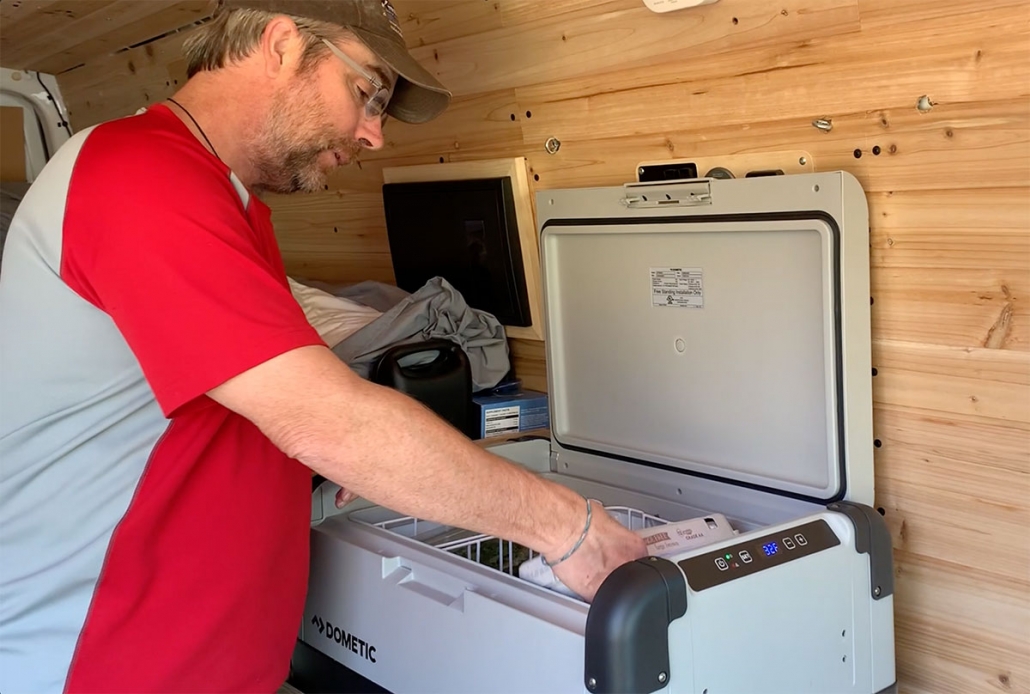
2. Refrigerator Stand
One of the things we learned from apartment life for the year leading up to our departure in the van, was that a small, under counter refrigerator was not user friendly – especially one with a door on it like a regular fridge.
For our van we chose a chest style fridge (meaning the door opens up, like on an ice cooler) and we also decided to install it on a stand so it would be up where we could reach it without having to bend over and strain to reach something inside it under the countertop.
And there’s room underneath for storage as well.
So far after 3 months in the van, it’s working great and is one of our favorite parts of the build.
3. Kitchen Pantry/Step Stool
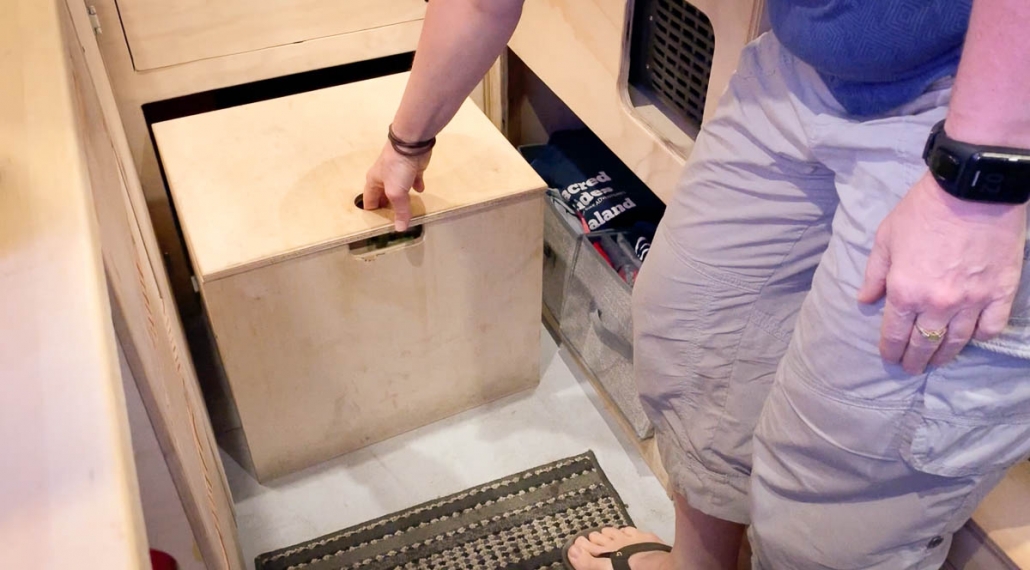
This is a late addition to our interior design and one that we are so glad we did. Again, it’s basically just a plywood box with a lid, and it holds canned foods, cooking oils, bags of chips… you know – anything you’d find in a kitchen pantry.
But it also serves as a step stool for our bed. The top of our mattress is about 45″ above the floor so that would be difficult to get to without this step stool.
And the best part is, when not in use, it slides back into the wall out of the way to make more room in the kitchen.
4. Interior Layout

With several of the other things I’ve mentioned being easy, this one was not. Trying to come up with a functional, liveable layout was something we struggled with for a long time.
We finally decided to err on the side of simple and comfortable, figuring that if we needed to add any complexity later that would be easier than removing complexity from an extensive build.
So basically we have a kitchen area on the passenger side with a large (for a camper) counter top, a chest of drawers underneath, and shelves for a microwave and a counter top oven. And a large (for a camper) sink with a 5 gallon grey water jug under it.
Across from that we have the refrigerator stand and bench seat/toilet.
In front of that bench seat is the dining room table on a swivel.
And both the driver’s and passenger’s seats are on swivel mounts so they can turn around to face the living area.
Aft of the kitchen/living area is a queen size loft bed which is mounted up high over the “garage”.
And then, accessible from the back outside of the van is the garage, for storage of many things including our bicycles.
Compared to some vans, both from professional upfitters and from other DIY’ers, ours is very simple and almost spartan, but it’s very comfortable and for us it works just fine.
5. Queen Size Loft Bed
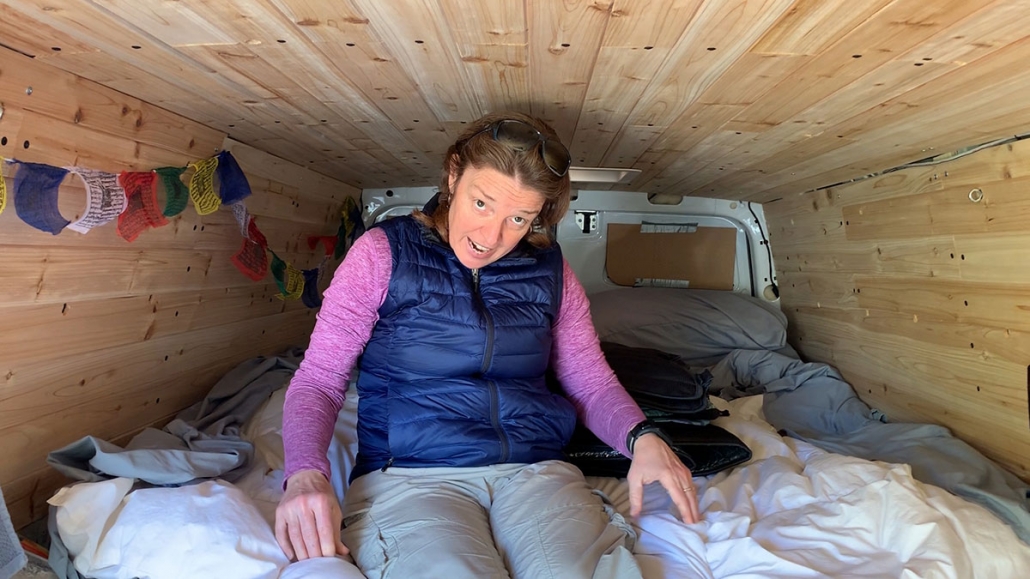
One thing we knew for sure was that we didn’t want to be setting up or tearing down a convertible bed/kitchen settee every morning and night.
We also didn’t want to be crammed into a tiny bed together (that sort of thing was fun 20 years ago but c’mon we need some sleep once in a while).
So we decided a queen size bed was a minimum, and that it should be permanent. So we built it up above the garage for lots of storage underneath. There’s not a lot of head room, but we mostly use it to sleep so that’s not a problem.
One thing we feared was ending up with an uncomfortable mattress, but we took a chance at www.plushbeds.com and found an 8″ latex memory foam RV mattress and it’s been great. It is one of the more comfortable beds either of us has ever had.
Also, the bed frame is another example of a D.I.Y. project that saved us a lot of money. We’ve seen frame kits that do basically the same thing as ours (hold the mattress above the floor for storage underneath) for upwards of $1,000. We built ours out of 2nd hand steel bed rails, and wood from the hardware store. All in all we spent about $200 for ours.
You can read more on that on our blog at this link, and see the construction process on our YouTube channel at this link.
6. Cabinet Toe Kicks
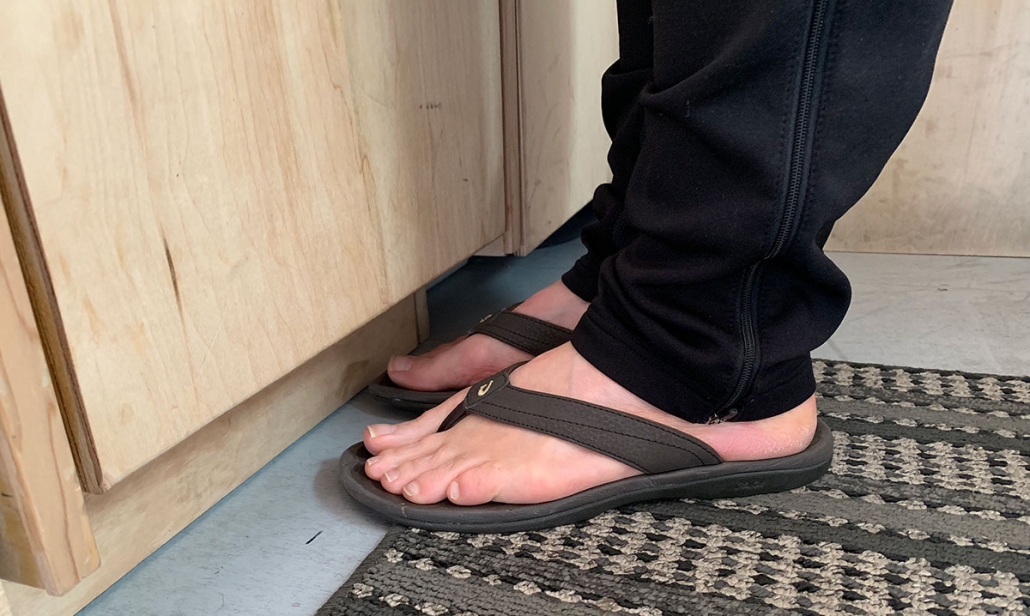
We’ve seen a number of van builds online with cabinets similar to ours, but we don’t remember seeing any with toe kicks.
And another lesson we learned from living in the apartment for that year before we set out in the van was that toe kicks are an important part of a comfortable kitchen.
So we added a 3″ toe kick to the front of our cabinet, and we didn’t lose any storage space because the cupboard still goes all the way to the floor and the bottom drawer has a ledge built in so it goes all the way to the floor as well.
So we have comfort and storage.
See the video linked below if this isn’t clear.
7. Lithium Battery Electrical System
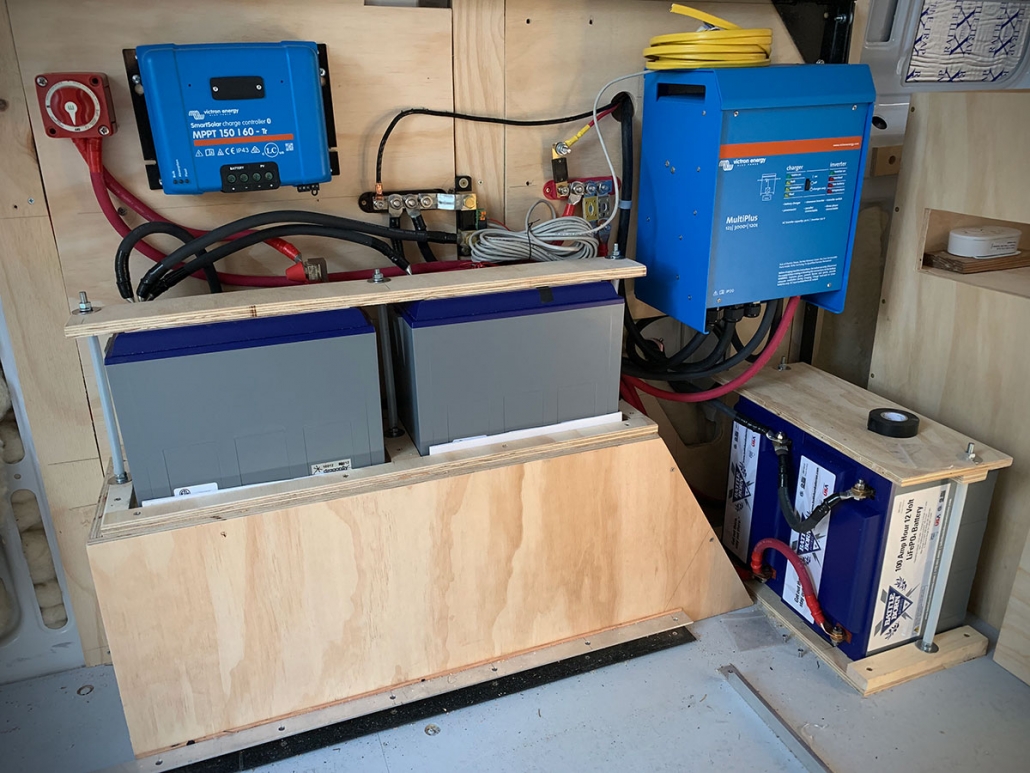
There’s nothing extremely unique here, but it’s definitely something we’re glad we sprung for.
Lithium batteries are much more expensive than standard lead-acid batteries, but they allow use of nearly 100 percent of their charge.
Lead-acid and AGM batteries are really only usable to 50% of their charge – if you drop them below 50% you seriously degrade their life expectancy.
So we have four, 100 Amp hour lithium batteries which yield nearly 400 amp hours of usable electricity. To do the same with lead-acid or AGM batteries, we would need EIGHT 100 amp hour batteries. And they’re already much heavier than lithium but to have 8 of them would be out of the question.
Along with that 400 amp hours we also have a 3000 watt inverter that converts 12 volts DC into 120 volts AC, allowing us to use standard household appliances that plug into a wall outlet. Things like a microwave oven, a countertop toaster oven, a blender, a hot water heater, etc.
So it was quite an expense but we’re so glad with went for it.
8. Drawer Pulls
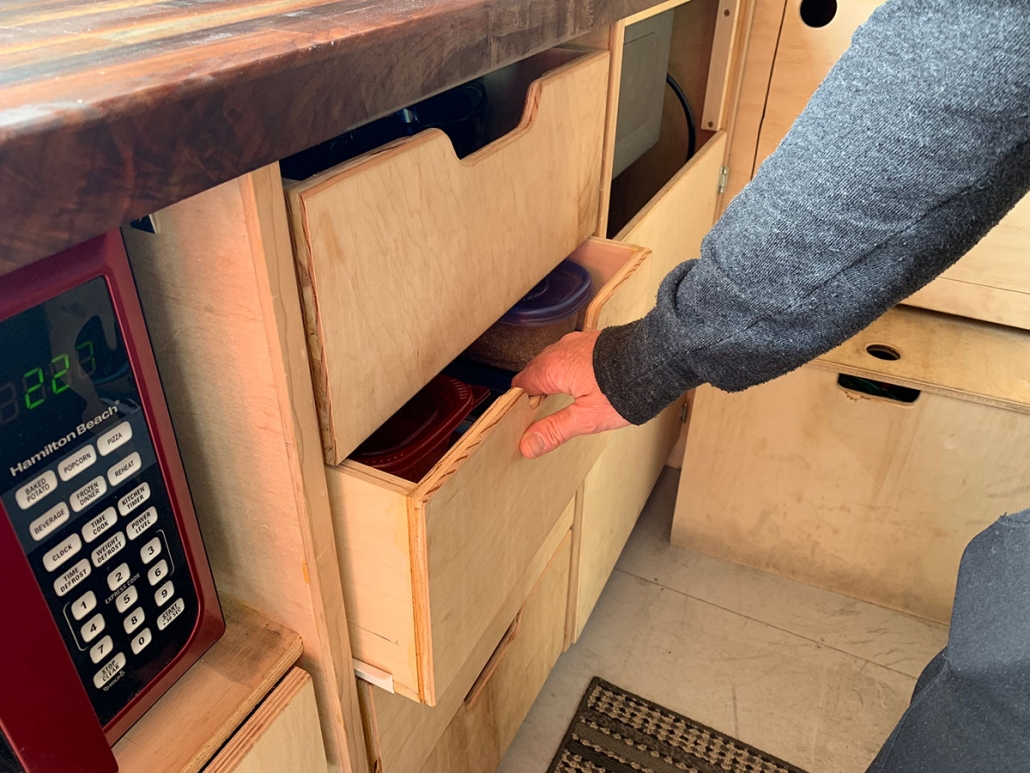
Here’s a simple thing to consider for your build –
Space is already extremely limited in a tiny home like this. Which means, you’ll be brushing up against things all the time as you move about in the living area.
We figured that if we had handles or knobs sticking out from the drawers and cabinets that we would be constantly hooking ourselves and our pants pockets or whatever.
So we cut grab holes into everything instead and it’s simple, clean and very effective. Just as easy to open a drawer with a grab hole as with a drawer pull, but this way there’s nothing grabbing at us as we walk by.
9. Garage Lights and Outlets
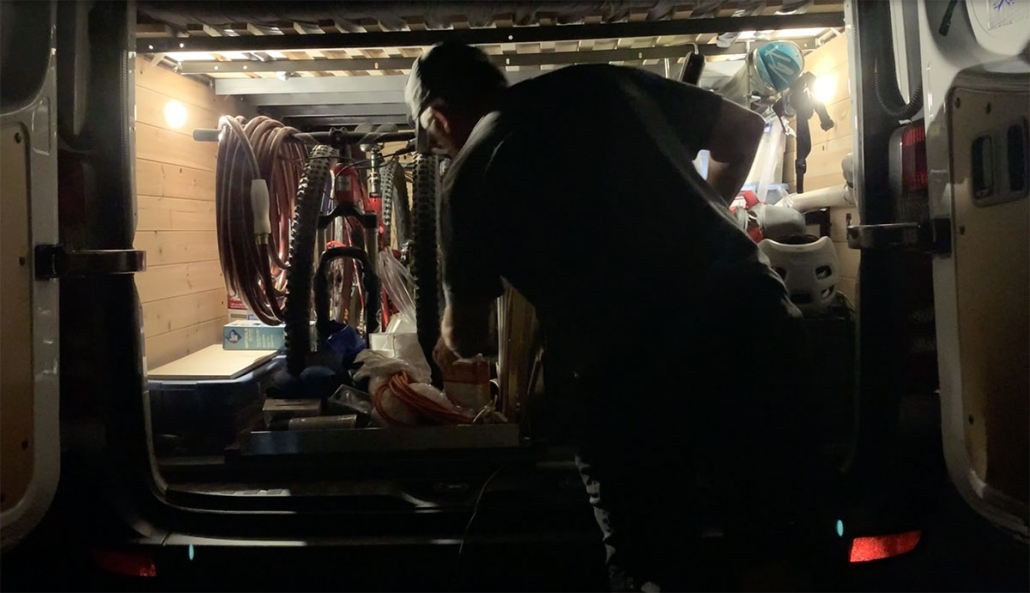
This is one we almost forgot but luckily we didn’t.
It has been great on a number of occasions to be be able to plug into a 120 volt outlet in the garage. I’ve used 2 of my saws from there already and we also have an air compressor that will work more easily that way as well.
And the lights – we can’t even count how many times those have been useful after dark when we need to get something or put something in the garage.
So remember those for your build!
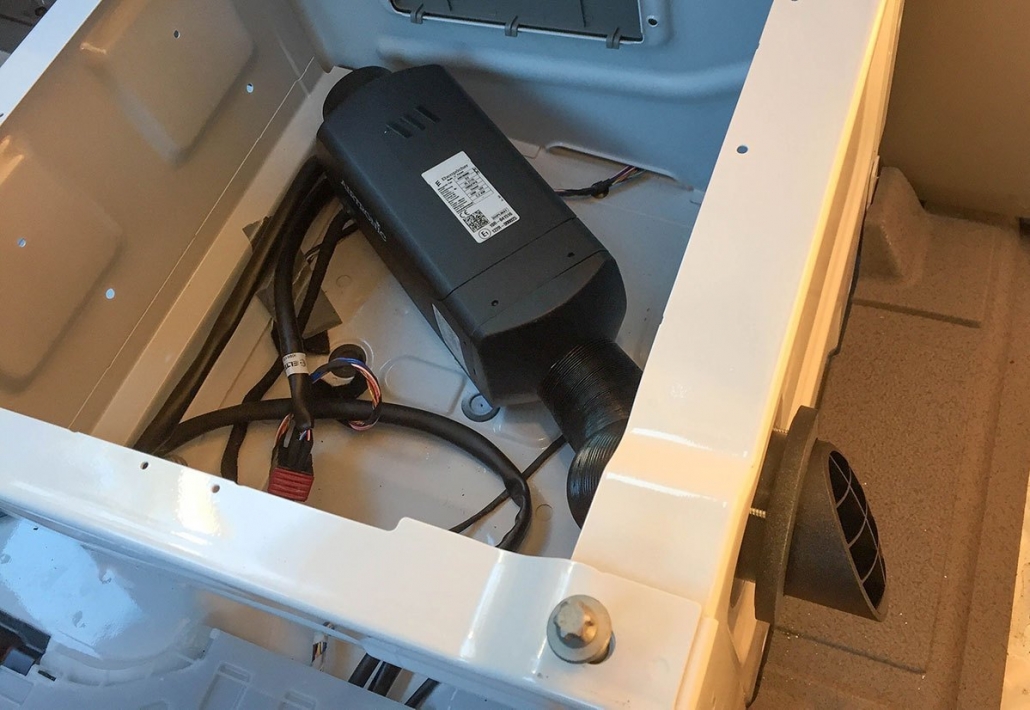
10. Diesel Heater
This was the first thing we bought for our van conversion and one that we worried about because of the cost.
“Are we spending too much?”
“Will we even use it that much?”
“Will it be worth it?”
It’s the Espar D2 Diesel Heater, imported from Germany.
Yes it was rather expensive, almost $1,000.
Yes we use it. A LOT.
Easy to use with a simple wall thermostat.
It’s plumbed right into the vehicle diesel fuel tank so no need for an additional fuel source.
It’s quiet and out of sight under the passenger seat.
And it keeps the van toasty warm when it gets cooler outside.
Yes it was totally worth it and if we had to do it all over again, we would do so in a heartbeat.